
Adding Approvers to a Workflow
For a Grant Approver, in the Report Header the user must have input “Grant” in the Grant/Non-Grant field and the specific grant number in the Oracle Alias field. Only then will the option to add a grant approver be available in the Details > Approval Flow page, as shown below.
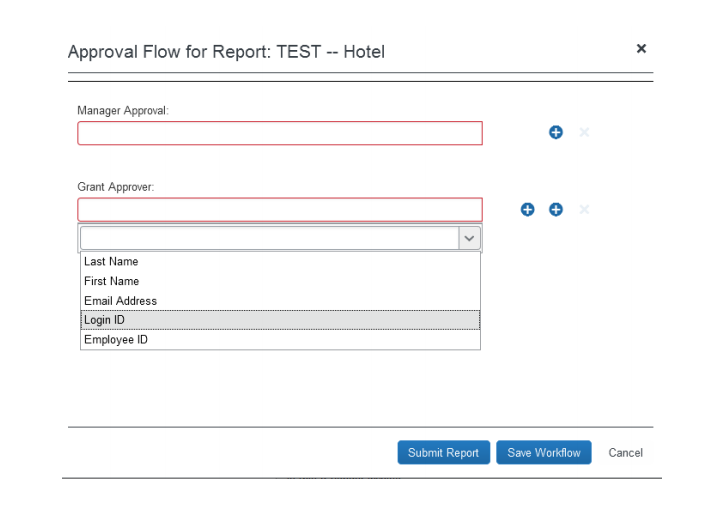
For a non-Grant employee, the Grant Approver cannot be saved. The user must re-enter the Grant Approver name for each report they submit.
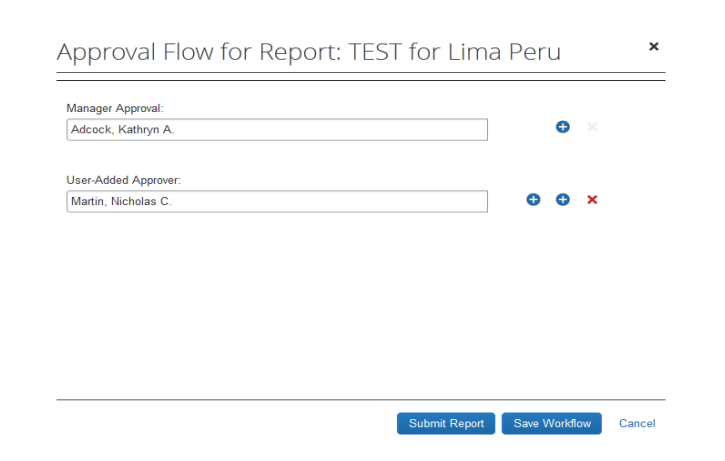
TIP: A user with multiple Approvers is advised to remove the Default Approver named in their Profile. If there is no Default Approver, the system will automatically prompt the user for an approver every time a report is submitted. This allows the user the flexibility of choosing which of their Approvers should be entered for a given report.