
How to Create an Expense Report
Before creating your expense report, you should:
- Convert all receipts to PDF, JPEG, PNG, or TIF format and save them either to your desktop or in the Available Receipts folder in iBuy Expenses Reporting (Concur). Users who have Expense Delegates should always save their receipts to their Available Receipts library, by downloading or emailing them to receipts
 concur [dot] com, since delegates can only retrieve receipts from this location.
 - Know your Approver. If you have not entered a Default Approver in your Concur profile, you will be prompted to input an Approver when submitting your report. Note: In your Concur profile, you must select and save the “Prompt...For an approver when you submit a report” option in the Expense Preferences category. This is required to make any changes to a user’s approval workflow.
- Understand the difference between entering a P-Card and Personal (Out-of-Pocket) expense
- For reporting Out-of-Pocket Expenses: In a new or open report, click Add > + Create New Expense for each expense to be added to report
- For reporting P-Card Expenses: In a new or open report, click Add > Available Expenses and select the transactions you need.
Note that you can input both P-Card and Out-of-Pocket expenses to the same report. The Payment Type field for each expense line indicates which type of expense you are working with. P-Card expenses are indicated as JP Morgan-Chase Corporate Card.
To start your report

Log into the iBuy website and click on the iBuy+ Concur Portal icon.
Select the Expense tab to open your Manage Expenses homepage.

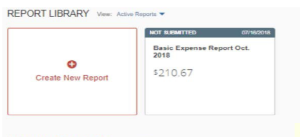
Report Library
Other types of reports will appear here, such as Submitted or Report Returned.
Use the Active Reports drop-down menu to see all of your past reports.
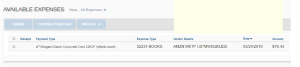
Available Expenses
The Available Expenses queue will show only two types of expenses:
- JP MORGAN-CHASE CORPORATE CARD CBCP for your P-Card expenses
- TRIP ITINERARY - must be combined with its matching travel expense

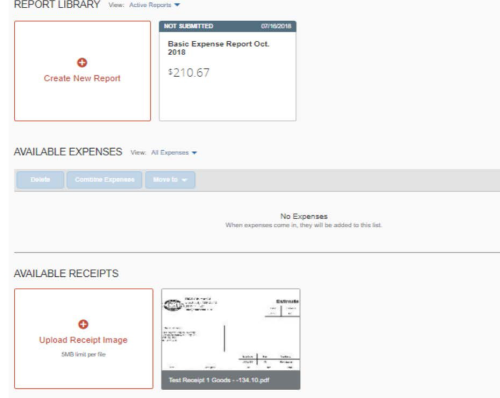
Available Receipts
Receipts here are those emailed to receiptsconcur [dot] com
Receipts can also be moved from your desktop to this receipt library.
**If you employ a delegate to process your reports, yo must send your receipts here. Otherwise, your delegate will have no way to view and attach them to your report.
Click + Create New Report
Complete all information in the Report Header marked with a red asterisk *. Your department’s Oracle Alias will appear automatically. (Note: The Oracle Alias can be changed by clearing the Alias field, entering the alternate alias, and clicking on that number in the drop- down menu).
Click Create Report
This takes you to the Report Page.

Each of your expenses will appear here once you have added them to your report.
Click the Add Expense button to bring up these choices:

- Click Available Expenses to import P-Card transactions into the report
- Click + Create New Expense to enter Out-of- Pocket expenses
Click + Create New Expense

You will be prompted to enter the Expense Type. For this Out-of-Pocket example, you click the + Create New Expense button.
Complete all required fields
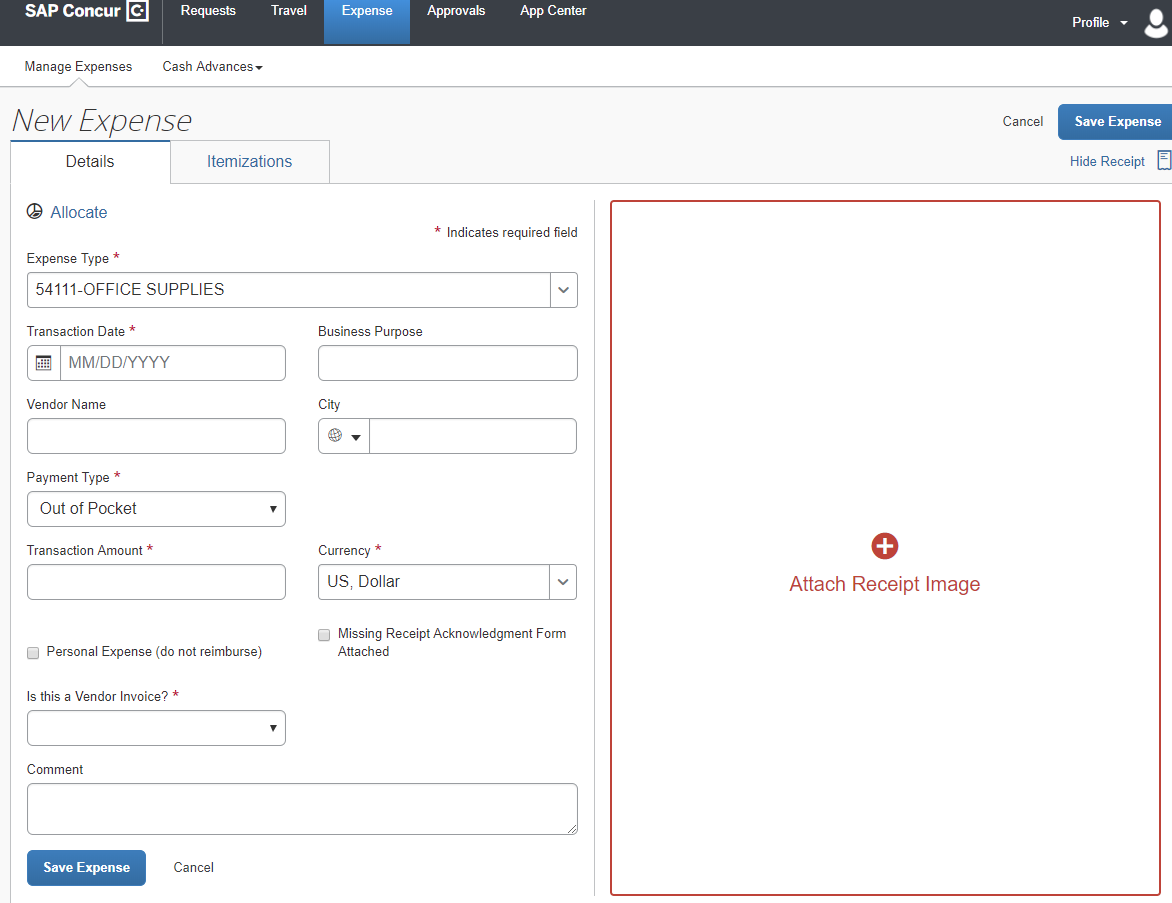
I
Complete all required fields marked with a red asterisk *, such as the Transaction Date, Business Purpose, Vendor Name, and the Transaction Amount. Be sure the Payment Type field shows as Out of Pocket. (It would show JP Morgan-Chase Corporate Card if this were a P-Card expense). For the question Is this a Vendor Invoice? the answer is typically No for a credit card purchase.
Click + Attach Receipt Image

Click + Attach Receipt Image and follow the instructions on the pop-up screen:
- Select the appropriate receipt image and click Attach, or
- If your receipt is saved on your desktop, select + Upload Receipt Image to locate and attach your receipt.
Click Save Expense. This returns you to the main report page, where you will have the option to Add a new expense or edit any expense you checkmark.
Review and Submit


Once all expenses have been entered, check that 1) there are no Exception remarks which impact your report, and that 2) the Total Amount equals the Total Requested. You should see this message when all of your information has been entered correctly:
"Success! You have cleared all alerts on this report."
Your report is now complete and you can click the Submit Report button. You will be able to add your Approver on the Edit Approval Flow page as shown in Adding or Changing Approvers to a Report.